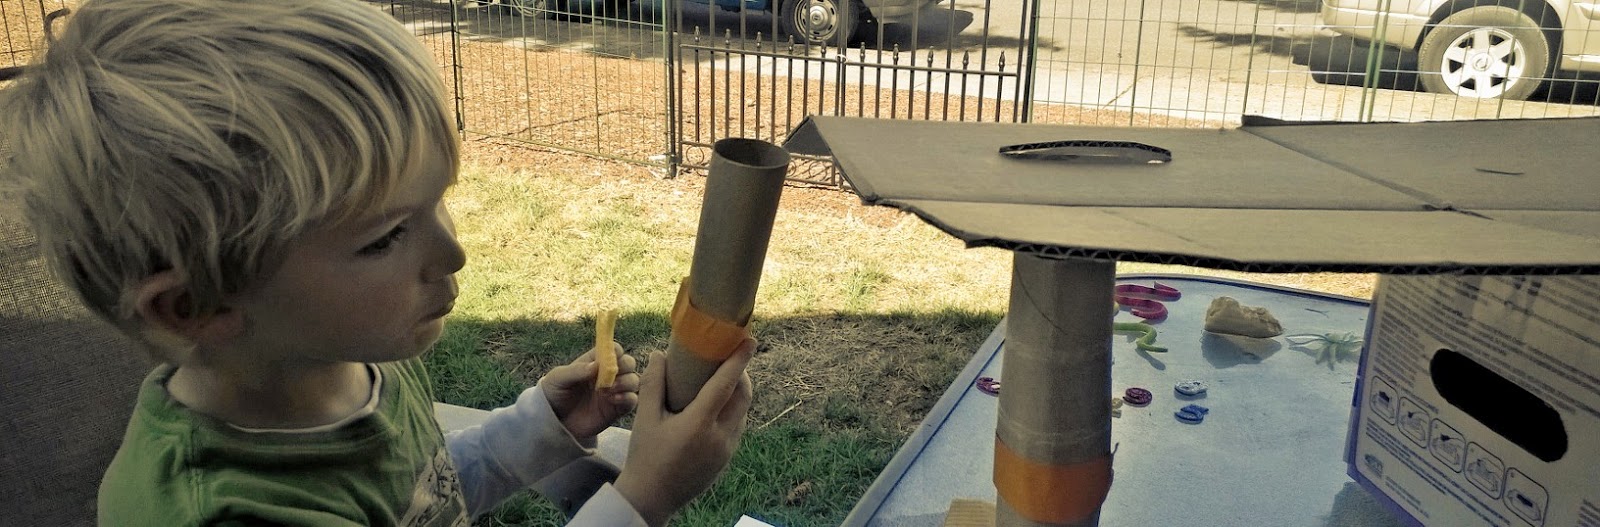
We had one large rectangular shaped cardboard box for the bottom of our station. I cut apart a similar box and used part of it for the roof of the station and a smaller box on top for the garage stalls and parking. The different levels were taped together, instead of glued.
I cut three different holes in the small top box to make the garage stalls. Carter placed the fun, glittery sticker numbers on the cardboard flaps. He really liked the stickers. Carter picked out the color (purple & orange)of construction paper for the front wall of the station. He helped stick the paper up with tape and helped put on the letter stickers, to spell ,"Service". We taped two toilet paper rolls to place underneath the second floor to hold it up.
Next, we needed to make the ramp from the top floor to the bottom. However, it was Carter's nap time, so we hopped in the car for a drive. (Basically, the only way he ever naps for me) A little while later, we arrived home to see Grandma & Grandpa were there.
I started making the ramps from a plastic coffee container by cutting out two long strips. I made two ramps to hook together by cutting a tab in one and slipping it through the slot of the other. Grandma helped cut a hole into the bottom of a soda fountain cup and taped around the inside edge to make a flat edge for the cars to easily go through. I switched the type of tape I was using from painter's tape to packing tape and it worked much better.I cut a tab out of the top of the plastic ramp to attach to the top box-parking lot/garage. Carter placed the cup on the top plastic ramp. I taped everything down and cut a hole through the cardboard at the end of the ramp to drop through to the bottom floor.
After some trial and error using different items for the bottom floor ramps, we found the Popsicle ramps we had made worked the best. Carter loved testing out the ramps with his cars. Other little things made:
a cardboard and sticker parking sign, parking lot out of construction paper and marker for the lines, a little toilet paper roll and straw car vacuum,a small coffee can wrapped in construction paper for the gas sign-Carter decorated the sign using markers, toilet paper roll oil cans, and a cardboard car lift.
Time to add cars!


No comments:
Post a Comment