Tuesday, October 28, 2014

Craft #56-Day 58-Beastly Mittens

This is one of Carter's favorite crafts so far!

I brought out the button bag, which Carter absolutely loves. I had gloves to use instead of mittens,which worked out great! We decided to make monsters.

Carter picked out the colors of felt to use. We decided what shapes to make out of the felt. I cut them out and Carter glued them on. We made hair out of felt for one of the monsters. He picked out buttons for the eyes and glued them on.  Now he has awesome blue monster gloves to wear.

Super simple and fun project!


Craft #55-Day 58-Felted-Wool Purses

This was definetly a craft that took some time to create. We started this yesterday and finished it today.

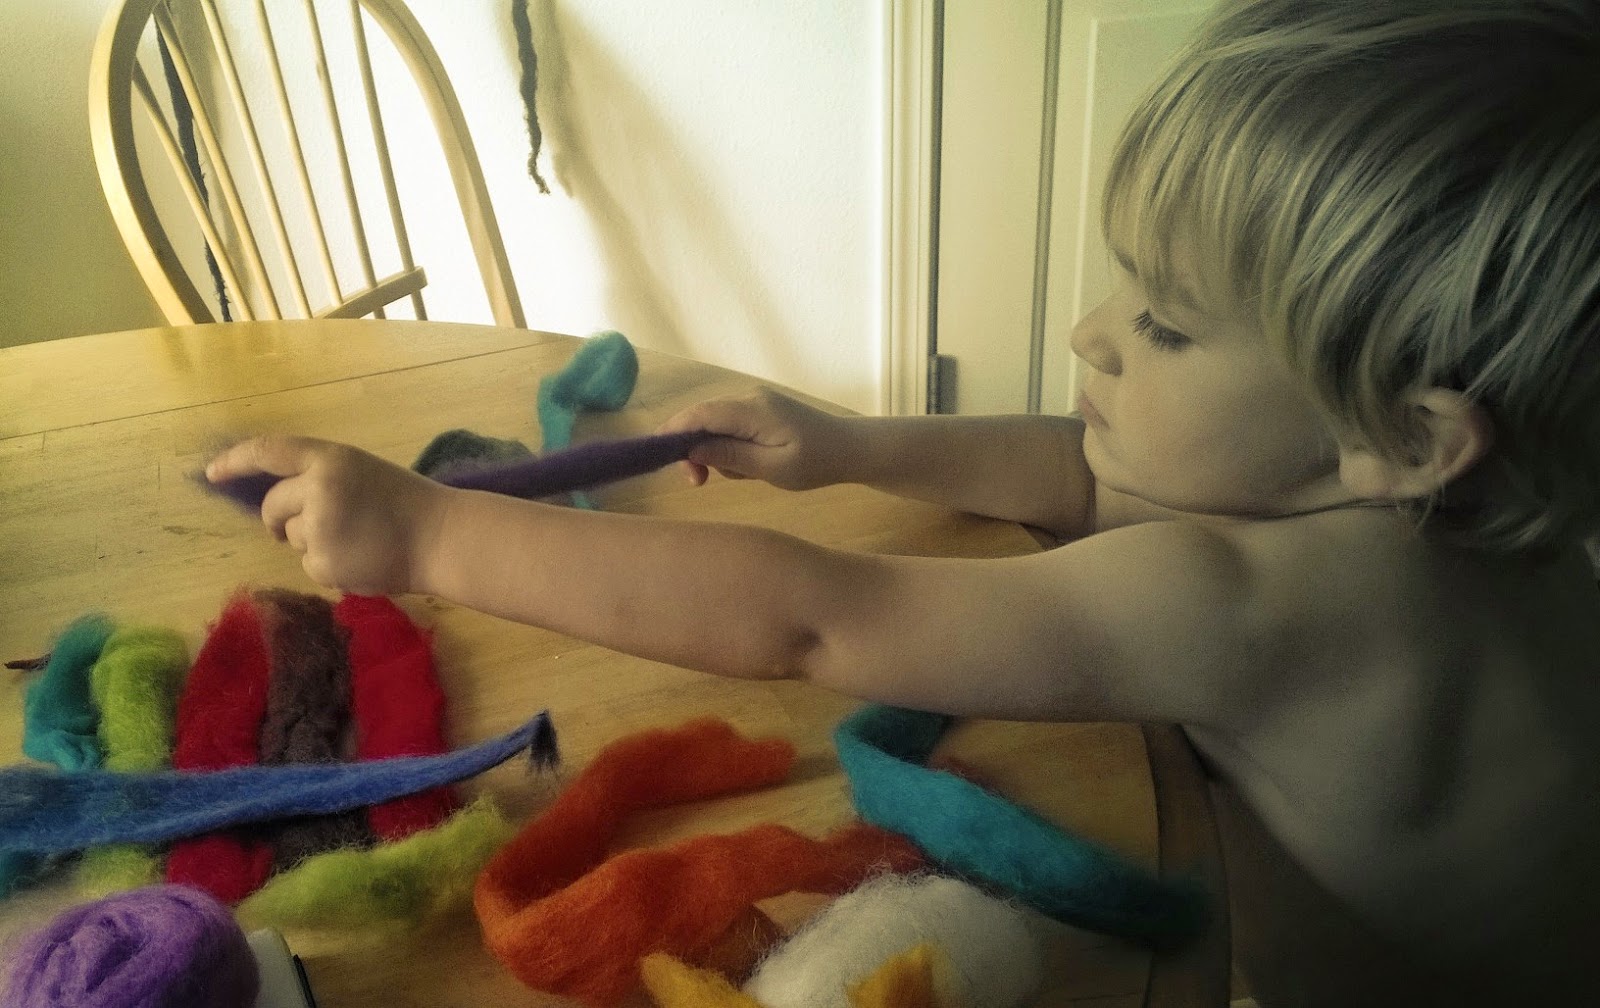
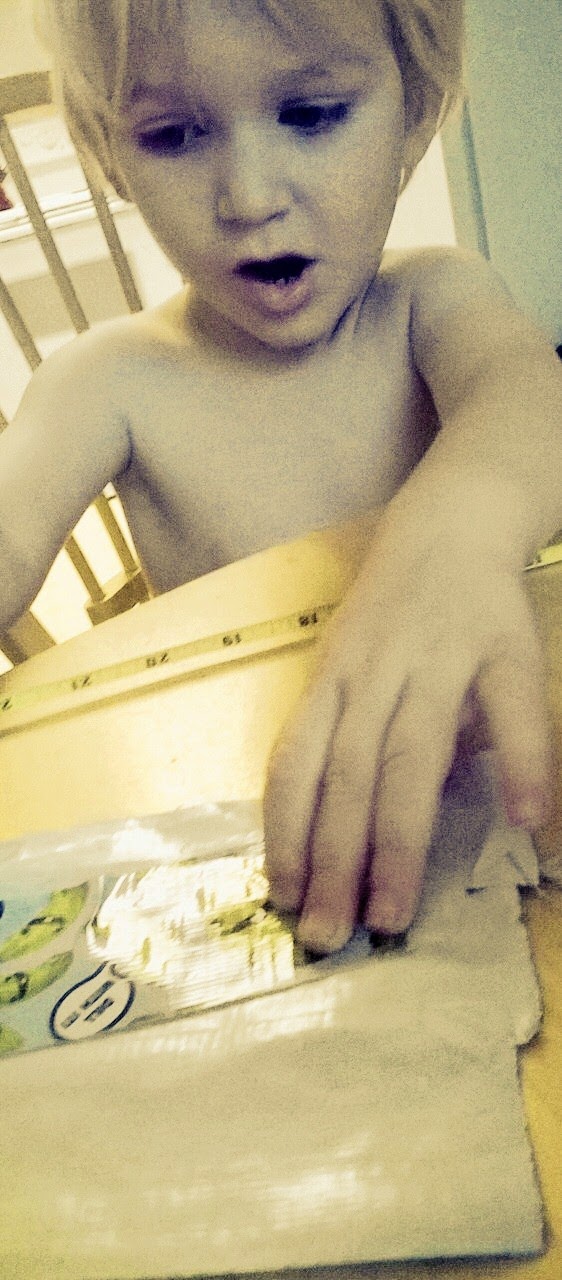
I cut out the pattern for our purse from a plastic grocery sack. Carter picked out the colors of wool he wanted to use. We made a three-layer pile of wool, switching from crosswise to lengthwise. We placed the pattern on top of the wool. We moved over to the kitchen sink for the next step and placed our project on a broiler pan, that we sat over the sink. Carter poured hot soapy water on the pattern. He tapped the wool through the template. I took over after awhile, since this took 10 minutes!

We then created the "hem" for the opening of the purse. Carter poured more soapy water on the top edge, folded it under the pattern,wetting and tapping. We folded the other edges over the template, wetting and tapping.

We created another layer and placed it on top of the pattern. Carter poured more soapy water on the new layer of wool and tapped it. We created another hem as before and "felt" them together.

When the felt was completely stuck together and not going to fall apart, I took the template out. I moved the purse up and down on the broiler pan, which I used in place of the washboard. Worked great!

I made a handle from rolling wool in the form of a snake, dipped it in hot soapy water, and rolled it on the broiler pan. Everything sat overnight to dry. Today I hand sewed the handle on.

Quite the project! Carter and I decided we will be giving this as a Christmas present!


Sunday, October 26, 2014

Craft #54-Day 56-Quick-Stitch Purse

Another cute and simple sewing project!

I was able to sleep in today. So we didn't start crafting until late morning. I poured a cup of coffee and gathered our supplies.

Carter picked out red felt and a cute little button for his coin purse. He practiced cutting felt with the pinking shears. I sewed on a button and punched a hole in the corner of the flap. We tied on a key ring loop using twine and threading it through the hole and around the loop.

Knowing that Carter loves to paint; I had acyrlic paint ready for him to use to decorate his coin purse. He was so excited to paint.

After this we painted our pumpkins. It was a painting extravaganza today!


Saturday, October 25, 2014

Craft #53-Day 55-Notebook and Pencil Cases

A pretty simple project, even for me...and I am still learning about the ins and outs of sewing.

Carter picked out the color of felt he wanted for both projects, helped me measure and practiced using his scissor skills. I didn't have a long enough peice of felt to use for the pencil case, so I sewed two peices together instead. Carter picked out the buttons he wanted to use.

We didn't have a little notebook, so we made one out of small peices of construction paper. Carter helped punch holes in the paper with the hole punch and we tied the pages together using twine. I sewed the top and bottom of one edge of the case to slip the side of the pages into.

Our pencil case turned out looking kind of like a Christmas stocking. I am sure Carter will use this for his crayons. This crafting journey is definetly teaching Carter and I new skills! Onto the next craft..


Friday, October 24, 2014

Craft #52-Day 54-Travel Tissues

After a fun day at the pumpkin patch, we decided to start our next craft. While my husband was making dinner, we sat at the kitchen table with our supplies-felt, thread, sewing needle, measuring tape and glue-ready to craft!

After marking the measurements for my rectangle, Carter practiced his cutting skills using pinking shears. Once it was cut out, I folded the two shorter edges to the center and sewed the ends. Carter chose a green felt circle to put his initial on. He glued the circle down and I sewed his initial, "C" onto the circle.

Carter helped stuff the travel tissue pouch with tissues. A cute little craft that we could make again, for gifts.


Craft #51-Day 54-Duct Tape Accessories

We went to the store early this morning to pick out the duct tape for our project. There were so many cool designs to choose from. Carter chose the pickle design! It has pickles on it with word bubbles that say, "Dill with it". I love that he picked this. I also bought grey sparkly duct tape for us to use as well.

We looked over the accessory options in the book. We could make a wallet, pencil case or key chain pouch, however it is unlikely he would use any of these things. So we decided to make a duct tape mini top hat as our accessory!

Carter helped me measure the duct tape length for our circles. We made a small circle for the bottom of the hat (using the sparkly duct tape) and an even smaller circle for the top (using the pickle duct tape). Carter helped trace the circles onto the duct tape and I cut the circles out. We also had to create another peice of duct tape fabric-by sticking strips of tape together-for the top and bottom to attach to (using the pickle duct tape).
I attached the top and bottom pieces of the hat using small pieces of duct tape all the way around the edge of the circles.

Carter loved the green ribbon I had. So we decided to add a strand of ribbon around the base of the hat. I taped the bottom of the hat onto a paper headband. Now I want to make one for me!


Thursday, October 23, 2014

Craft #50-Day 53-Stenciled Backpack

Since Carter does not use a backpack yet, I decided we would paint on a reusable shopping bag instead. We definetly will use this bag! Carter will be very happy that he has his own bag to carry. He loves helping out when we are in the store.

I gave Carter the box of paints so he could choose which colors he wanted to use. I had already made stencils out of paper, for his first & last initial. I taped the stencils on one side of the bag. He picked blue and a mustard yellow color and kind of mixed the two colors a little when painting the "L".

This is such great coloring practice for Carter! We untaped the stencil to see how it turned out. Carter was excited for me to take a pic of the final product! We will try it out this weekend, while shopping at our favorite craft store, MECCA.


Wednesday, October 22, 2014

Craft #49-Day 52-Painted Umbrellas

Chapter 4-Design it Yourself!

Perfect rainy weather for this umbrella craft!

We picked out an umbrella yesterday at the thrift store and I bought a set of acrylic paints today. I already had paintbrushes and containers for the water/paint. I opened the umbrella and placed it on the table, along with the paint, water and tape. We put on our aprons and we were ready to go!

The umbrella we picked out was red, white and blue. So we decided stars would be a cute addition. I made a couple of star stencils from a piece of notebook paper. I taped the stencil to a white section of the umbrella. Carter was excited to start painting!

We painted one blue star on each white section of the umbrella. Carter also painted freehand blue marks around each star. He was ready to use the umbrella right away. So he twirled it around in the kitchen. I had to explain to him that we needed to let it dry before we try it outside.

Plan for tomorrow.....rain boots, umbrella, and puddle jumping!!!


Tuesday, October 21, 2014

Craft #48-Day 51-Tin Can Toys

Since I had a few errands to run in town, we decided to stop by the thrift store to look for some supplies. Carter happily pulled the basket along (awesome basket with a handle & wheels) while we wandered around the store. We found a couple of treasures, then it was time to leave, which can be tricky sometimes to convince a toddler of that. Luckily, Halloween decorations distracted him at the check-out and all the way to the exit;)

I decided we should make the mouse, since the building plan was toddler friendly. We found a metal Christmas bell ornament to use for the body of the mouse in place of a tea strainer. We of course changed around a few of the other supplies too. Carter helped thread the pipe cleaner through the bell for the tail. He helped place the little balls of clay and beads onto the top part of the bell, for eyes. We used another ball of clay for the nose. I have many pouch food lids and am just looking for a reason to use them! So I decided to use two of the lids for the ears. I took a bent paperclip and thread it through the holes in the bell and Carter helped place the lids onto the ends of the paperclips. After a bit of bending of the paperclips and usage of clay, the ears were in place.

Last step was making the paws. We used paperclips for the paws and thread them through the bell and bent them in place.  Our little Christmas mouse was complete!


Monday, October 20, 2014

Craft #47-Day 50-Stack and Play

Time to play market! I was very excited to set this up today. The project calls for new IKEA shelves....well we can't afford that....so next best thing (which I love to do) is improvise with the materials we already have!

After searching our house and brainstorming a little, we came to a conclusion....we would use our kitchen table, shelf and coffee table for our booth, and suspend & prop up the blinds for our "canopy". Carter was overjoyed to place the food items where he wanted on the table, strainer, and baskets. We used other random things to add finishing touches to his booth which included his Christmas radio, broom and various kitchen utensils.

Carter drew a beautiful picture on the chalkboard for his sign and we came up with the name....drum roll, please....Welcome to Carter's Cabana-your local market!!!!!

When my husband came home, Carter was quick to tell him that it was a good day! Heart-melted.