Tuesday, December 30, 2014

Craft #101-Day 121-Artful Accessories

Wow, it has been another busy week. Carter's party turned out great and now we are looking forward to celebrating a new year!

Carter had made the art for this project weeks ago, we just never finished the rest of it...until now! After his party, I had a ton of empty containers we could choose from to make our pencil cup. We chose a plastic cornstarch container and Carter helped tape his art onto it.

I didn't have a checkbook or passport cover, so we used a card holder instead. We had part of his picture left over, so we cut that to fit inside the holder. This would be a great place to put spare keys.

Fun and easy artful accessories from recyclables.


Tuesday, December 23, 2014

Craft #100-Day 114-Monogrammed Tote

Yay! We have reached 100 crafts completed!!! What an amazing crafting journey so far. In a few days my little guy turns three years old!

The book suggested we use fabric for the initial with a fusible webbing back. Well, I decided since we had some of the iron-on patch material left from our last project, we could just use that instead.

I brought out my sack 'o' fabric for Carter to look through. We decided this would be the perfect present for Grandma Beth's birthday. Since we already had the tote we just created with the cute bee...we would add her initial next to it which is also a "B"! Meant to be, OK I'll stop, ha, ha. Carter picked out a cute piece of green flannel to use for the initial. I cut out the piece of fabric and iron-on patch and Carter helped glue the two together. I of course, did the ironing part. I would suggest after our trial and error, to first iron on just the patch then glue the fabric on.

Now we have a bee-utiful present for Grandma B!


Craft #99-Day 114-Iron-On Transfer Totes

We have not had much time to complete our Martha crafts between the bussiness of the holiday season, Carter's Birthday decor crafting extravaganza and Carter getting sick. So needless to say, we were overwhelmed! Today was a mellow day...so we started our next project.

I just happened to have a green tote to use for this project. Since moving, trying to downsize... many things are still packed up in our garage. This is including our printer! So improvising,which I love to do, I figured out a way around it. We shopped around a little and found a simple iron-on plain fabric patch. This would work perfect.

Instead of using iron-on transfer paper (printer needed),Carter painted a beautiful design onto the patch instead. He used black and yellow, which reminded me of a bee. So with his permission of course, ha, ha...I made a bee outline and face around his beautiful design. I followed the iron-on instructions that came with the patch and we ended up with a cute one of a kind, bee bag!


Tuesday, December 16, 2014

Craft #98-Day 107-Cross-Stitch Family Portraits

New Chapter-Chapter 7-Give Something Handmade-"Whether it's a personalized bag, a box of fudge, or a cross-stitched family portrait, the best gifts are always the ones you make yourself." -Martha Stewart's editors.

Okay, so when it says, "projects for kids of all ages to create, build design, explore, and share".... I don't think it means every project is meant for kids of all ages?? More like there is a project for every age? Which I have noticed before now...however part of the fun has been improvising and adapting the project for my toddler. Which is what this adventure has turned into. This happens to be the case with this project as well, just a little more so. I started researching and found a great idea to tailor this to an almost three year old. I don't know about you, but my kid is not ready to full-on detail cross-stitch. So here is the version of this marvelous idea instead.....

I had Carter pick out a picture he would like to use from his coloring book to create our very own DIY Lacing Board. He picked a picture of a " minion" and we both started coloring with markers and crayons. Once Carter declared that we were finished, he helped glue the picture onto a piece of cardboard from a cracker box. Yes, I love to reduce, reuse, recycle! For the benefit of the earth and my pocketbook.

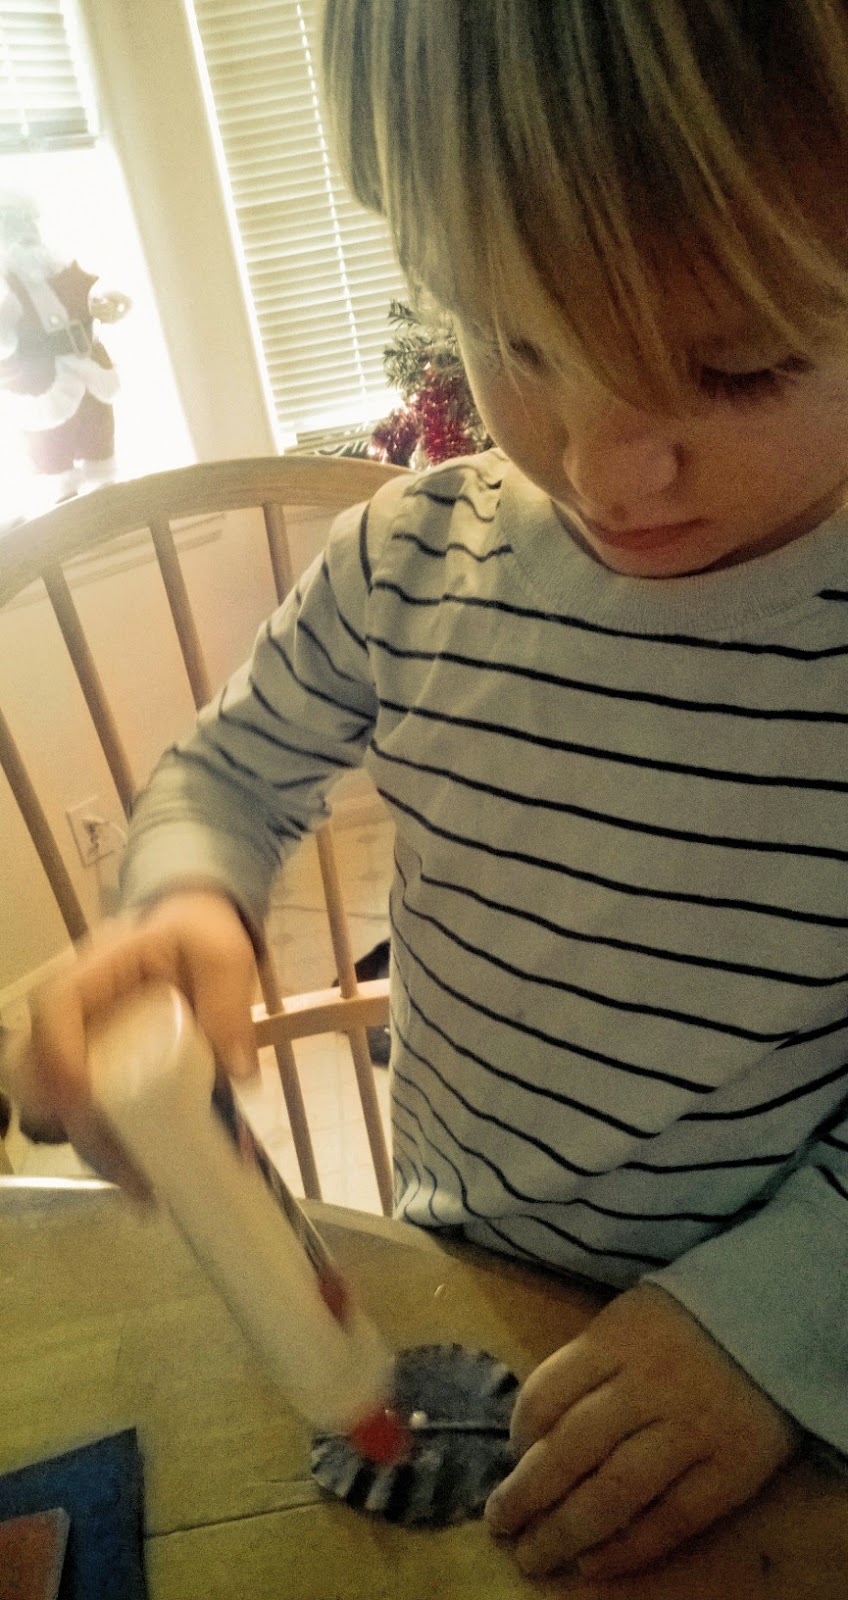
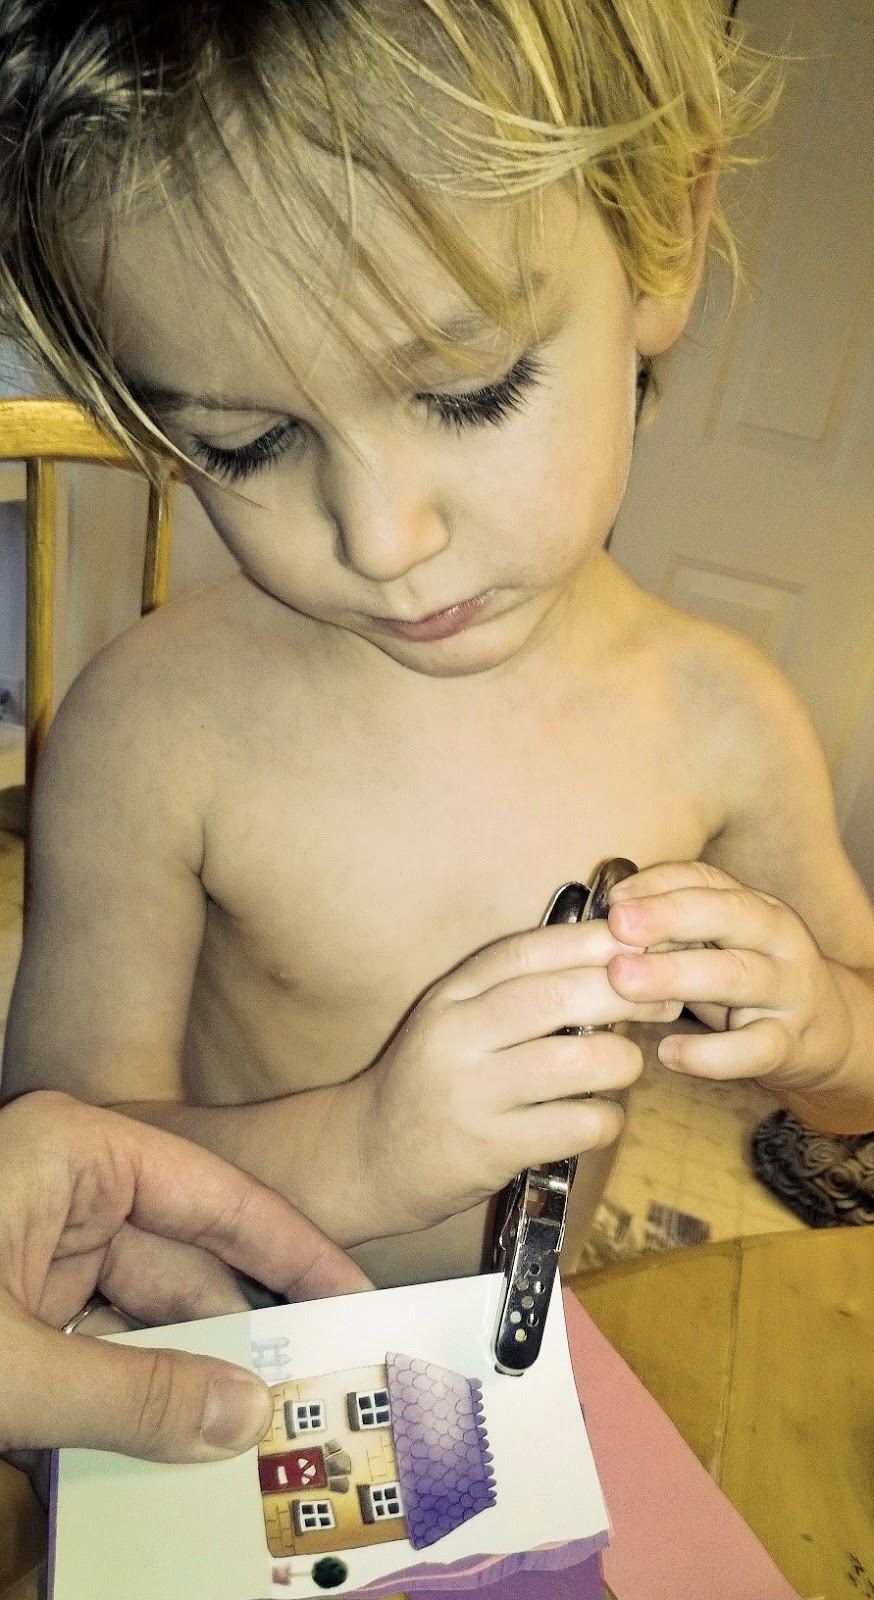
Carter helped to punch holes into our board and we were ready to start lacing. We had a pretty orange piece of ribbon to use and I taped one side so it could easily be thread through. Lacing is a great and fun activity for developing fine motor skills, improving eye-hand coordination and concentration! Then Carter turned it into a mask; an endless amount of imagination.


Friday, December 12, 2014

Craft #97-Day 103-Leaf Alphabet

"Carter, let's go collect leaves!" Carter was eager to follow me to the yard on a very windy day, to pick up leaves. He grabbed his Santa hat and started placing the leaves he found in there.

We made cards from construction paper and shiny dark blue paper for our alphabet. Carter practiced using the scissors-definite improvement. We chose what we wanted each letter to represent....like A is for apple, B is for butterfly and so forth. Then we started creating the pictures from our collection of leaves!

Carter helped glue on the leaves to our cards and sometimes the stems of the leaves, as well. For the grasshopper, we used a leaf stem for his legs. Such a great learning opportunity. Carter knows his letters, however matching the letter to a word is something we still practice.

We will definetly display this awesome leaf alphabet in his room!


Wednesday, December 10, 2014

Craft #96-Day 101-Bottle Piggy Banks

Another great way to recycle a plastic water jug!

Carter helped glue and wrap the construction paper around the jug. We decided we didn't need to cut a slot in the top...we could just take the lid off. I cut out the ears from construction paper and cardstock, then glued them on top of the jug.

Carter used the hole punch to cut eyes and nostrils out from construction paper and glued them in place. I cut two slits on each side of the jug to fit bottle caps through for the piggy's feet.

Again, I poured out some change onto the table for Carter to start "feeding" the pig, ha ha!


Craft #95-Day 101-Coin Counters

We stopped by our very favorite store, Mecca, yesterday to pick up a few decorations for Carter's birthday party as well as some plastic containers for this project!

We found great containers with poppable and attached lids. As always, Carter was super excited to see me bring out the paint! He picked out the colors and started to paint the lids. While the lids were drying, I cut out the cents numbers from stickers.

Once the lids were dry, Carter placed the stickers onto the lids. This was a perfect learning opportunity to teach him 1, 5, 10, and 25 cents. I cut a slit in each lid large enough for the coins to drop through.

I dumped out a bunch of change onto the table and we started sorting. Again going over what a penny is, quarter, dime, and nickel. Great fun!


Monday, December 8, 2014

Craft #94-Day 99-Portable Cubby

The last craft of the day! I had saved a few large pieces of cardboard, that we could use to make our portable cubby. I am always saving containers, boxes, cardboard etc. now instead of just tossing stuff into the recycling bin. It is such a source of inspiration!

I cut the slopes on the sides of the piece of cardboard to form the cubby. Carter helped fold the fun pickle duct tape over the edges. He helped attach rubber bands, vertically. We used a clip to hold his paper initial in place and an envelope to store other items.

We placed his portable cubby in his room! Another great way to help keep his art items organized.


Craft #93-Day 99-Tiny Trinket Boxes

We were on a crafting roll today! We have a button collection that needed a place to be stored. I had the perfect jewelry box to use for this project.

Carter used markers to draw a picture on the lid of the box. He told me it was a snake; such a great imagination. I used hot glue to attach the buttons that Carter picked out to add to his drawing on the lid.

Next step was to fill the box with buttons. Carter was quick to pour the whole bag into the box. Of course, a few buttons escaped...he thought that was hilarious! Lots of laughter!


Craft #92-Day 99-Pocket Books

After finishing some Christmas decorating, we decided to drag out our craft supplies for our next project.

Sifting through the big bag of different kinds of paper scraps...we decided to use part of a greeting card. I cut around the picture of the house to make our pocket book cover. Carter had previously drawn on a couple of pieces of construction paper....so we cut that paper into the same size pieces as the cover.

Carter helped punch holes in the paper and thread ribbon through to hold the book together.
He now has a pocket book to draw all of his good ideas in. "Mom, I have an idea!"


Sunday, December 7, 2014

Craft #91-Day 98-Tack-Free Bulletin Board

I love the idea of a no tack needed bulletin board, so Carter can arrange papers, pictures, etc.

I didn't have a corkboard to use for this project. However, we had the back of a dry erase board we could repurpose as our bulletin board. Carter helped stretch long rubber bands to create intervals from placing them lengthwise and widthwise over the board. We decided not to paint the board. Instead Carter picked out patterned tissue paper to cover part of the board along with pictures, stickers, and art work. He decided to also add pipe cleaners in various colors.

Carter is pretty excited to have a board that he can add or remove items all by himself!