Sunday, November 30, 2014

Craft #84-Day 91-Miniature Scrapbooks

It has been quite a busy holiday weekend! Carter and I are also making his birthday party invitations...so today was the first day this weekend that we had time for our next project.

I love the idea of mini scrapbooks to add to a larger scrapbook. It seems like a much more manageable way to keep up with all of the pictures. I had to print pictures for Carter's invitations, so I went ahead and printed out some pics from October as well.

We used lightweight cardboard for our pages and covered the front and back with construction paper. Carter decorated the paper with markers, a cute bat window cling decoration that we repurposed as scrapbook decor, and we added a couple of squares of paper with the title-"October 2014".

I cut around the pics we wanted to use and Carter helped with the tape. We placed Halloween window clings throughout the book. Carter also added glitter around the pics and around the title.

Now I need to keep doing this for every event!


Wednesday, November 26, 2014

Craft #83-Day 87-Accordion Boxes

We rummaged through the house, until we found the perfect little cardboard box to use for our accordian box. I grabbed my bag of miscellaneous scraps of paper, buttons and stamps to use, and all the various types of glue.

Carter was quick to pour out the entire giant bag of scrap papers onto the kitchen table. We chose to put fake leaves onto the lid and pretty green glitter glue. Carter picked dark blue card stock and I accordian folded it. Since we had a glue stick; he was happily choosing and gluing pictures, beads, etc. to the paper. He helped glue the first page into the box and painted the paper with glitter glue. Carter loves glitter glue!

Carter wanted to glue a shell in his box, so I used the hot glue gun for that. We also decided to add one of the clay beads we had made in a past craft project. I glued the last page onto the bottom of the lid. Carter liked closing and opening the box!

This is such a great way to save all of that precious memorabilia. I think this would be such a heartfelt gift, as well.


Tuesday, November 25, 2014

Craft #82-Day 86-Movie Magic

We took a trip to the library to return books, pick out new ones (we are up to at least 4 books at bedtime) and make copies of the clip art provided in the book. We headed home, books and copies in hand, ready to start our next project.

Carter decided we should use the fish and bowl clip art for our thaumatrope-simply creates the illusion of two images combined into one when you spin the handle. Instead of card stock we used cereal box cardboard to glue our images onto. Carter helped cut the box apart so I could cut the cardboard out around the image easily. He glued the image onto the cardboard and taped the wooden dowel to the back of it. We repeated the process for the fish image and Carter glued it onto the back of the other image attached to the dowel. We set it aside to dry and continued onto the next movie making device.

I cut out the clip art for the phenakistoscope- an early animation device that used a spinning disk of sequential images and the persistence of vision principle to create an illusion of motion. Carter glued the image onto cereal cardboard that he had colored purple. I cut out the 12 slots in the design and used a tack to attach it to a pencil eraser. We also set this aside to dry to complete the last device.

I had index cards to use and star stickers. We decided our scene would be of a shooting star. Carter helped place the stickers onto the cards, slightly moving the stars on each card. We secured the stack of index cards with a clip and flipped from back to front to view our scene. Carter needed help flipping the cards, however once he saw it....he thought it was pretty cool!

We were ready to try out the other devices we made! Carter had fun spinning the thaumatrope, where it appeared that the fish was in the bowl. Then we stood in front of a mirror and tried out the phenakistoscope, which he also thought was entertaining.

Movie magic fun!


Monday, November 24, 2014

Craft #81-Day 85-Window Garden

After a quick trip to the library, we stopped at a feed and seed store to pick out some seeds. Carter is always telling me that he wants to be a farmer...in fact that is what he ended up being for Halloween. So he was so excited to be in this store.

We wandered around the store and found seeds that were on sale! One lady helped us pick out the seeds that would work best in a glass for our window garden. Another staff member went out of their way to look in storage to see if they had soil pellets left.....and they did! So for about $5...we walked out of there with a large pack of soil pellets and a bag of sage and radish seeds.

We had a few small canning jars to plant our seeds in. Carter placed the pellets in a jar and poured warm water over them. The pellets swelled and all of the water absorbed into the soil. We broke the casing of the pellets and fluffed the soil and placed a pellet back into each jar. I read the seed planting instructions and Carter planted the seeds.

We also tried the other method using a couple of pinto beans. We used damp coffee filters to pin the two seeds in place against a side of the jar. Carter placed a smaller glass jar into the other jar to hold the filter and seeds in place.

Now we have sage, radishes, pinto beans and our bug terrarium. We really have quite the window garden now! I will post a couple of updates as they grow.


Sunday, November 23, 2014

Craft #80-Day 84-Safari Terrarium

We didn't have an aquarium to use, so we used a mason jar that we already had on hand. Also, instead of a safari theme, we decided on a bug theme for our mason jar terrarium.

We stopped by Grandma & Grandpa Simmon's and they generously gave us a plant and soil to use. Grandpa Simmons is quite the plant expert. We headed home, ready to start our project.

First Carter added marbles and red glass pieces into the jar. Then we added the charcoal that my husband (Mike) smashed into small pieces for us. Carter added the soil over the charcoal and pretty blue aquarium rock on top of that. Mike placed the plant in the jar and Carter picked the praying mantis to complete our mason jar bug terrarium!


Craft #79-Day 84-Pressed Leaves

After Carter had his cereal and milk, we wandered outside to the front yard to pick out leaves for our project. Carter zipped around the yard and quickly filled his bucket.

First we made leaf rubbings with a few different leaves, by placing the leaves underneath a piece of paper and using a crayon to rub over the leaf. Next, we made a leaf press. I cut two pieces of cardboard the same size and placed a layer of tissue over it. Carter helped place a layer of leaves on the tissue and covered them with two layers of tissue. I placed the other piece of cardboard over the tissue and placed a heavy object on top of the press.

We will check it in a week and I will update the post with the results!

We grouped the other leaves into different categories-size, shape, edges and colors. Carter also had fun playing with the leaves and his toy bugs. Lots of leaf fun!


Thursday, November 20, 2014

Craft #78-Day 81-Solar System Bedroom

We went shopping at a local thrift store and dollar store to shop for our planets. After finding a smaller bag of styrofoam balls, we decided we would make a much smaller version of the solar system model than what was displayed in the book.

Carter already had a toy Nerf like ball we could use for the sun. He helped tape the yellow tissue around it and splatter on orange paint.

This is how we made the planets:

Mercury - small foam ball, painted red

Venus- foam ball,painted yellow and sponge painted spots of red and orange

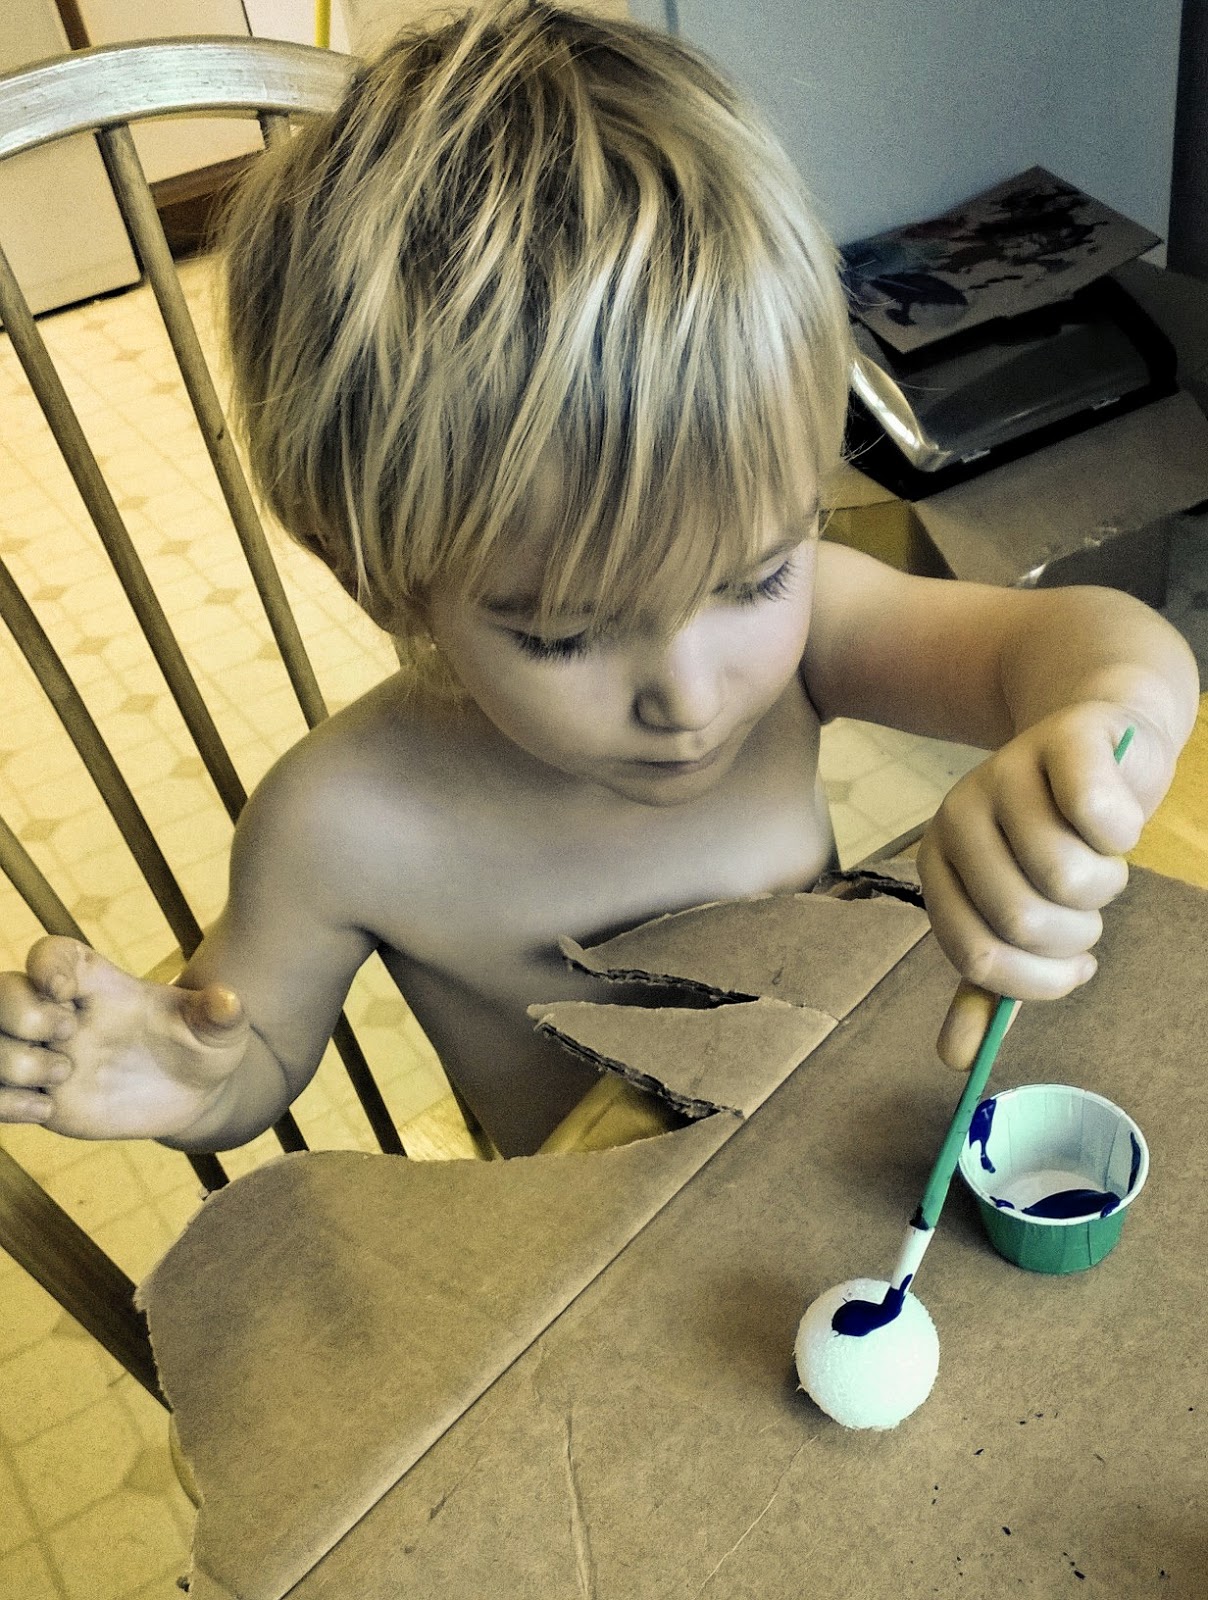
Earth- foam ball, painted blue and sponge painted spots of green

Mars- foam ball painted red

Jupiter- foam ball rolled around in painted brown and orange craft sand-Carter's favorite part!

Saturn- little rubber basketball, painted yellow, orange and brown wavy stripes-rings cut out of cardboard, covered with electric tape and painted rings of glue. We sprinkled used different colors of glitter for each ring.

Uranus- little rubber bouncy ball painted blue-rings cut out of cardboard, colored gray, painted with glue and sprinkled with glitter.

Neptune- foam ball, painted blue brushed with silver glitter and two darker spots of blue to represent the planet's dark, stormy spots.

Carter helped with all of this!

I used metal rods to attach the planets to the sun and our solar system was complete.

The other part of the project was to make a twinkling shade. Again, we created a much smaller version of this project and instead used what we already had. I had two pieces of dark blue card stock that we used to draw on our constellations. I poked the holes and Carter practiced connecting the dots. Since, it was already dark outside we placed the twinkling "shades" in front of his night light to illuminate the stars & constellations-Cassiopeia and the Big Dipper.

Now Carter has a solar system bedroom!