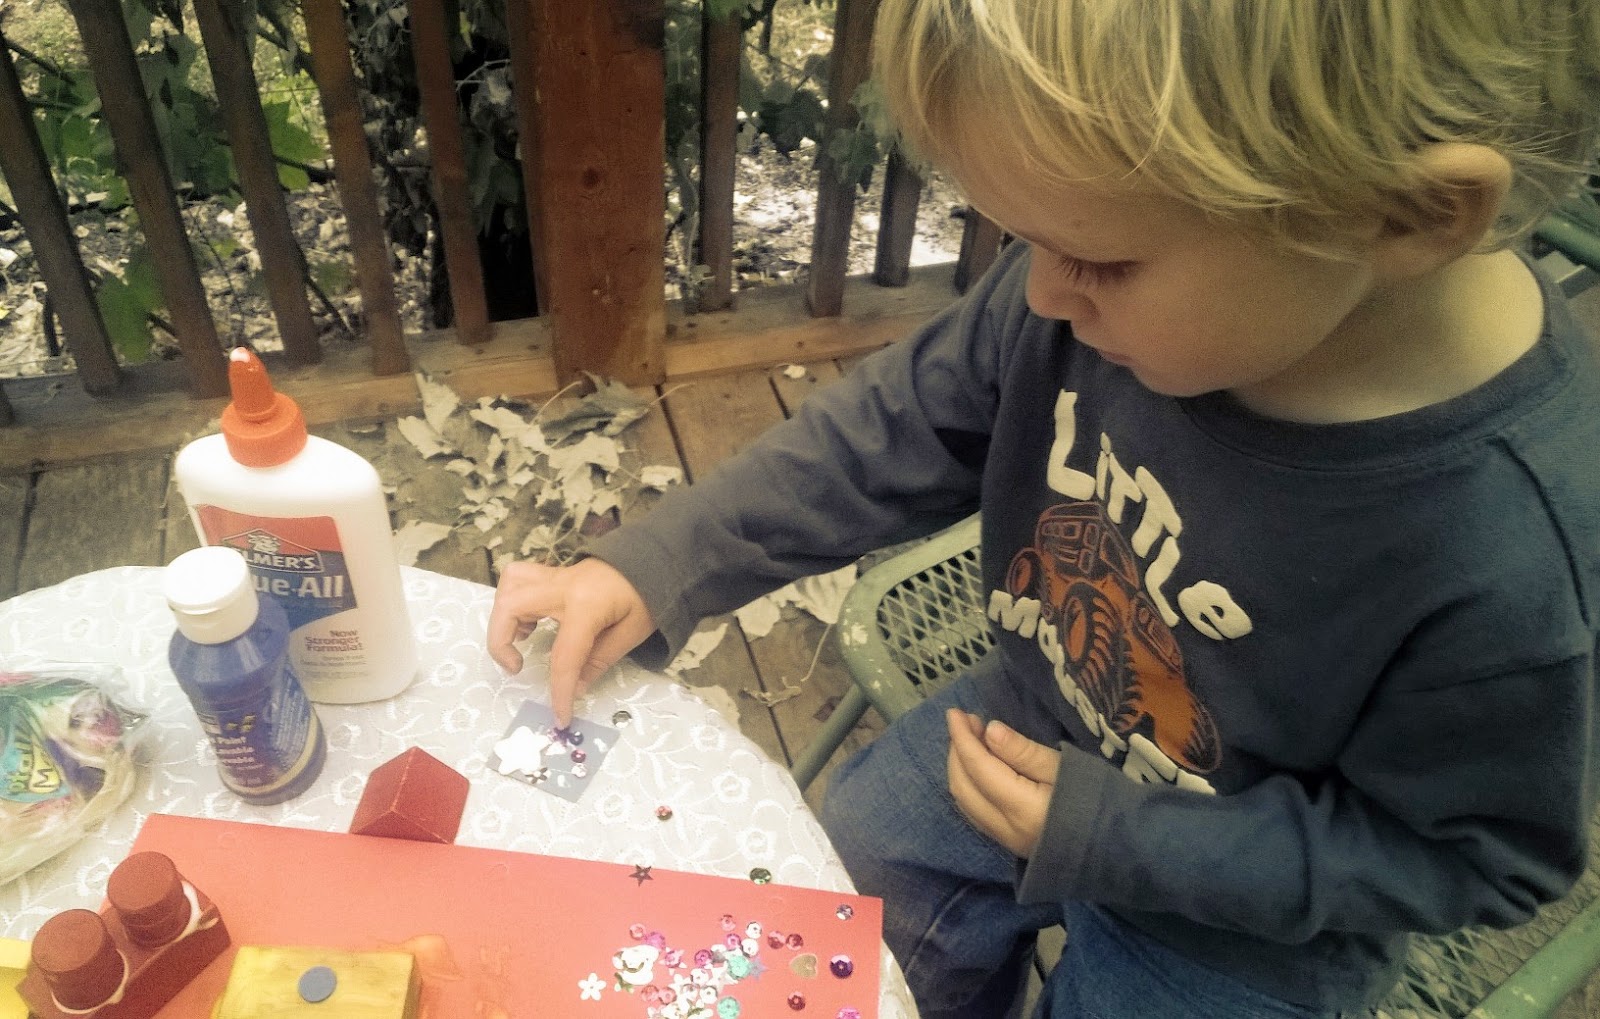
Monday, September 29, 2014

Craft #29-Day 29-Cookie Cottages

Family night craft time! My husband, Carter and I gathered around our kitchen table to build our cookie cottage.

First, Carter and I made the frosting and placed all of our fun edible decorations out on the table. My husband (Mike) started to get the graham cracker walls and roof ready for us to put together. Carter tried "gluing" the walls together using the plastic bag of frosting and squeezing it on. That did not work well for him, so we used a butter knife instead. Now it was time to decorate!

We spread the frosting on the roof and started to add cookie wafers for our shingles. I was passing Carter the cookies to place on the roof. I eventually glanced over and realized we had not made any progress. He had the cutest little mischievous grin on his face. He had been eating the cookies! I laughed and was starting to place the cookie on the roof, Carter reached for a mint candy and placed it on there instead. What a great idea! (And he wasn't so interested in gobbling those up) We placed our roof peices onto our cottage, securing it in place with frosting.

Mike broke a small piece off of a pirouline stick and "glued" it onto the roof. He made a door and used a sixlet for the door handle. Carter grabbed the other sixlets and started decorating the roof. He made a cookie wafer path, where the excess frosting had dripped off of the house. Carter sprinkled away and we finished by adding sugar cones as trees to make our forest.

Our "Woodland Hideaway" was complete.The best part- my little family and I created it together.


Craft #28-Day 29-Miniature Ski Scene

We were up early, crafting away! Carter was excited to glue, dump out glitter and fling paint around!

I cleaned out a small circular cookie tin to make our scene. I had found the polystyrene (to use as our snowy background)at the dollar store. It was the perfect size and had already been cut into circles. Carter had the all-purpose glue and started squeezing the glue into the tin. We placed the full circle in the tin-our first layer. For the second layer- I cut a slope out of the circle and we glued that on top of the first layer. We decided to make a miniature horse-drawn sled scene.

We used metallic green pipe cleaners for our trees. Carter was estactic to drop these little trees into the container of white paint and to shake the glitter on them. I glued the sled to our slope and poked the trees into the peices of foam. I stretched plastic wrap over the tin and secured it with a runner band.

Now, it was time to start flinging paint! We headed outside with our white paint poured out onto a paper plate along with a paintbrush, toothbrush and bottle brush. I thought it would be fun to experiment to see which one worked better. I placed our tin on a cardboard box and Carter immediately started "throwing" the paint onto the plastic wrap for the falling snow. I think we determined the bottle brush as the best to use.

Apparently, our sled was going through a blizzard! The finishing touch was having Carter dump out silvery glitter onto the snowstorm.

The messier, the better;)


Sunday, September 28, 2014

Craft #27-Day 28-Toy Service Station

We started our project outside today. I gathered the many different sizes and shapes of cardboard we needed along with all of our supplies and recyclables. The patio table was completely covered.Looking over the project in the book, I knew I would have to scale it down a little to fit my toddler's attention span. So that's what I planned for!

We had one large rectangular shaped cardboard box for the bottom of our station. I cut apart a similar box and used part of it for the roof of the station and a smaller box on top for the garage stalls and parking. The different levels were taped together, instead of glued.

I cut three different holes in the small top box to make the garage stalls. Carter placed the fun, glittery sticker numbers on the cardboard flaps. He really liked the stickers. Carter picked out the color (purple & orange)of construction paper for the front wall of the station. He helped stick the paper up with tape and helped put on the letter stickers, to spell ,"Service". We taped two toilet paper rolls to place underneath the second floor to hold it up.

Next, we needed to make the ramp from the top floor to the bottom. However, it was Carter's nap time, so we hopped in the car for a drive. (Basically, the only way he ever naps for me) A little while later, we arrived home to see Grandma & Grandpa were there.

I started making the ramps from a plastic coffee container by cutting out two long strips. I made two ramps to hook together by cutting a tab in one and slipping it through the slot of the other. Grandma helped cut a hole into the bottom of a soda fountain cup and taped around the inside edge to make a flat edge for the cars to easily go through. I switched the type of tape I was using from painter's tape to packing tape and it worked much better.I cut a tab out of the top of the plastic ramp to attach to the top box-parking lot/garage. Carter placed the cup on the top plastic ramp. I taped everything down and cut a hole through the cardboard at the end of the ramp to drop through to the bottom floor.

After some trial and error using different items for the bottom floor ramps, we found the Popsicle ramps we had made worked the best. Carter loved testing out the ramps with his cars. Other little things made:
a cardboard and sticker parking sign, parking lot out of construction paper and marker for the lines, a little toilet paper roll and straw car vacuum,a small coffee can wrapped in construction paper for the gas sign-Carter decorated the sign using markers, toilet paper roll oil cans, and a cardboard car lift.


Time to add cars!


Friday, September 26, 2014

Craft #26-Day 26-House of Cards

Even though this activity only has a few supplies needed, it was a little time consuming. Trying to get the cards and straws just right to keep the house together, took a few attempts. We got it though!

Since this craft was not messy, we sat on Carter's floor in his room to create our house of cards. We had various cereal boxes and other cardboard to make our cards out of. Carter was pretty excited to use the tape measure! He helped mark our measurements in pencil on the cardboard and practiced using the scissors. We measured and cut all the straws needed. I cut a slit in both ends of the straw to slide the cardboard through to make our walls. Carter helped place the straws onto the cardboard peices.

Next time I would use the small coffee straws instead of regular drinking straws. I think that the smaller straws would be easier to slide the cardboard through. I would also like to try out a smaller version, maybe with playing cards. This might keep Carter's attention a little longer during the assembly process.

I made a little door in the front of our card house and it was complete.


Craft #25-Day 26-File Folder Village

This is a fairly simple craft that requires just a few supplies-file folders (I also used construction paper), double-sided tape, and scissors.

We started crafting outside, until it started to rain and then we hurried back inside to finish our project. I used the house and roof template provided in the book as an example, when drawing the pattern on the folders. Once I had everything cut out, Carter helped tape everything together. I also used the tree template, to make a couple of trees for our village.

Carter had already started to play with the shells he had out on the table next to our houses. He was pretending the shells were people. Once the roof was placed on, they had no way in their house. So we made a little door for the little shell family.

We set up our village on his "town" carpet and soon the village was filled with dinosaurs, cars, and elephants-Oh my!


Thursday, September 25, 2014

Craft #24-Day 25-Toy Boats

This project took a couple of days to complete. Partly, because of wait time for drying and painting. The other reason is because my days have been very busy. Anyhow, here's what we did...

First, Carter chose the type of boat he wanted to make. He looked at the pictures in the book and chose pretty quickly. Tugboat it is! We were off to Grandma's to look for wood blocks.

We found the blocks, we needed-just a smaller version. We sat on Grandma's deck and started to paint our blocks and glue everything together. We found cool little barrels to use for the smokestacks. I cut out a little blue flag out of card stock for Carter to decorate. He glued on cool decals and a purple feather. I used an orange pipe cleaner for the pole and taped it on the back of the boat.
(I would definetly use the screw hooks next time)

The next day, we needed to repaint part of our boat, so Carter did another layer of yellow on one side and green on the other. He also decided to add beads to his boat-for flair.

We used an oyster can for the dinghy and dental floss to tie it to the boat. Since the oyster can has very sharp edges, I added a layer of clay for safety. Carter filled the dinghy with the cork cargo.

I asked Carter what he wanted to name his boat. He looks at me and says, "Blue!" A most excellent name. So I painted the name on the side of the boat.

We put on our rubber boots and packed our boat safely in our basket, in search of mud puddles. We found a few and tested out our boat. The moment of truth...."It floats!" We celebrate by jumping up and down in the puddle. It was a beautiful morning, so I thought it would be fun to try it out on a mellow spot on the river. Grandma joined us and we were off to play.


Tuesday, September 23, 2014

Craft #23-Day 23-Horse Stable Diorama....

We still completed a diorama...we just decided to modify it into a dinosaur diorama instead! Carter is not really interested in horses, therefore we do not have any plastic horses to use. So looking around the house, I realized he has about a million little dinosaurs! So why not change the theme to something he is more interested in, weave our ideas along with the ideas in the book and use what we already have at home. Win, win....win!

In the book it suggests we use a wooden crate-I used the next best thing, a heavy duty cardboard fruit box. We glued green construction paper for the ground on a separate piece of cardboard, that we added to the front of the box. Carter added sand on top of the construction paper, for the dino's to roam through.We added yellow and green easter grass for the dino hay. We placed rocks and pinecones for trees in the box as well as out in the sand.

This is how we made the more detailed parts of our diorama:

Fence-Carter piled up sticks and twigs, bordering the construction paper edge.

Prize Ribbons-Carter picked out two little circle stickers for the centers and I cut out small blue ribbons from construction paper and stuck them to the stickers. Carter placed them on the front edge of the box.

Window-We found a cool "dinosaur climbing a building" picture out of a magazine to use. I added Popsicle sticks with glue to frame the pic. I attached it to the back wall, inside the box, with a star tack. Carter added glitter!

Food Containers-Made from a toilet paper roll cut in half and green felt on top. I labeled one of them, "Dino Food" in marker. Carter placed one of the containers by the back wall and the other container in the front, at the edge of the box.

Saddles- I used the template provided in the book as an example. I used construction paper and felt to create this and cut it in half to fit the Sauropods.

Water Buckets-We placed a few food pouch lids in the sand for our water buckets.

Ropes-Used dental floss for our rope and wrapped it around star tacks and placed them on the back wall by our window.

Lava Pool- Carter added red food coloring to water to make our lava and then we poured it into a tiny Frisbee. We placed it in the center of the sand.

Welcome to Dinosaur World.

We definetly made an interactive/sensory diorama!


Monday, September 22, 2014

Craft #22-Day 22-Stickville

After our morning walk, we broke out the craft basket at the kitchen table. Carter was pretty wiggly today, so I planned for the activity to be broken up in peices throughout the day.

Carter helped line up the Popsicle sticks for the wall. While he was lining them up, we practiced counting. We made another little Popsicle wall and I had Carter count with me to make sure we had the same amount of Popsicle sticks as the previous wall.Carter also was helping me glue along the way.I didn't have wood glue, so I used "Elmer's Glue-All". This worked as long as there was some drying time allowed.

We took a break, to play outside. Carter brought his toy cars back to the kitchen table. This is when the idea of making a racing ramp instead of a Popsicle stand came from-as he is running his cars back and forth over the Popsicle sticks. So we went to work lining up our colorful Popsicle sticks for our finish line, instead of using it for a roof. I used large Popsicle sticks and glue to hold all three separate walls together, to form our ramp!

Lunch break! After we finished lunch, I set up Orange DIY liquid watercolor-(per Carter's request) for Carter to paint the finish sign. Once, he had declared he was done, I wrote " Finish" with each letter being a different color.Carter helped me glue and place the Popsicle sticks to our sign. I had a small space between two sticks to slide one side of the sign through to hold it up. I attached the other side with glue-which later had to be taped instead, after a few races. I added two large Popsicle sticks to place the ramp on, same scenario to attach it as the sign. Next time I would have added spaces between the Popsicle sticks for this. This completed our Popsicle Racing Ramp-our version of Stickville.

Ready, Set, Go!


Sunday, September 21, 2014

Craft #21-Day 21-Snow Globes

We start a new chapter of the book-"Build A Little World" A snow globe is the first little world project!

We were headed to Grandma and Grandpa's house (my parents) so Mike could use their shop to work on our cars. We brought along our craft supplies for the project and thought Grandma and Aunt Zella would like to create something too!

After visiting for awhile, we set up a table out in the yard for everyone to sit and craft at. I got out my polymer clay to begin molding the object for our snow globe. We decided to go with a Halloween theme. Carter liked playing with the clay. Once he saw Zella's cool character, he started to get more interest in building a character and keeping the peices together.

Carter put two squares of green clay on top of one another. I rolled little eyes for him to stick on and Zella made arms. Carter grabbed this little plastic cone shape I had on the table and put it on his character's head for a hat! Zella went to put all of our character's in the oven to bake. Even Grandma made one!

After 30 minutes of baking time and 10-20 minutes of letting them sit and cool down; they were finished. He had made a little robot monster! Carter was uninterested in finishing the project, so I packed up all my supplies to complete later.

After dinner at home, he was ready to finish our snow-globe. He helped paint his robot monster with silver nail polish, which is used to seal it. We let that sit and dry. Once dry I added silicone glue to the bottom of the lid and stuck robot monster on there. While that was drying, Carter added distilled water to our little plastic container-I decided to use plastic for our snow-globe instead of glass-toddler proof. He picked out the purple glitter and immediately poured some in the water. I think he could play with glitter and water all day.

Once dry, I added silicone glue to the threads where the lid twists on. I twisted the lid on and we had our finished Halloween Snow-Globe. Carter got to look at it, however the glue needs to sit for 24hrs before tipping it upside down. So I am sure we will be playing with it tomorrow!