Adorable mini-size presents! We had the perfect people in mind to give this to as a, "Thank-you" gift.
We used a small cardboard jewelry box in place of the matchbox. I dragged out the infamous, ever expanding baggie of paper scraps for Carter to search through. I poured craft glue in a cup and gave him a paintbrush to apply it. He picked various stickers and pieces of paper, gravitating towards the Christmas theme.
We chose a pink slip of paper to write our thank-you note on. Carter decorated the note with more pictures, stickers and his very own drawings! I added a thank you message using marker.
We placed a grasshopper trinket as well as our note into the box. Carter will be delivering this present very soon!
Follow our toddler tailored crafting adventure through, Martha Stewart's Favorite Crafts for Kids book!
Wednesday, January 21, 2015
Monday, January 19, 2015
Craft #118-Day 141-Gumdrop Lollipops
So the last time we used gumdrops for one of these projects...it was a big mistake. All Carter wanted to do was eat them. So I mixed it up this time to avoid the meltdown and eliminate as many "no's" as possible.
Rummaging through the refrigerator, I found the following as stand in's, ha ha!
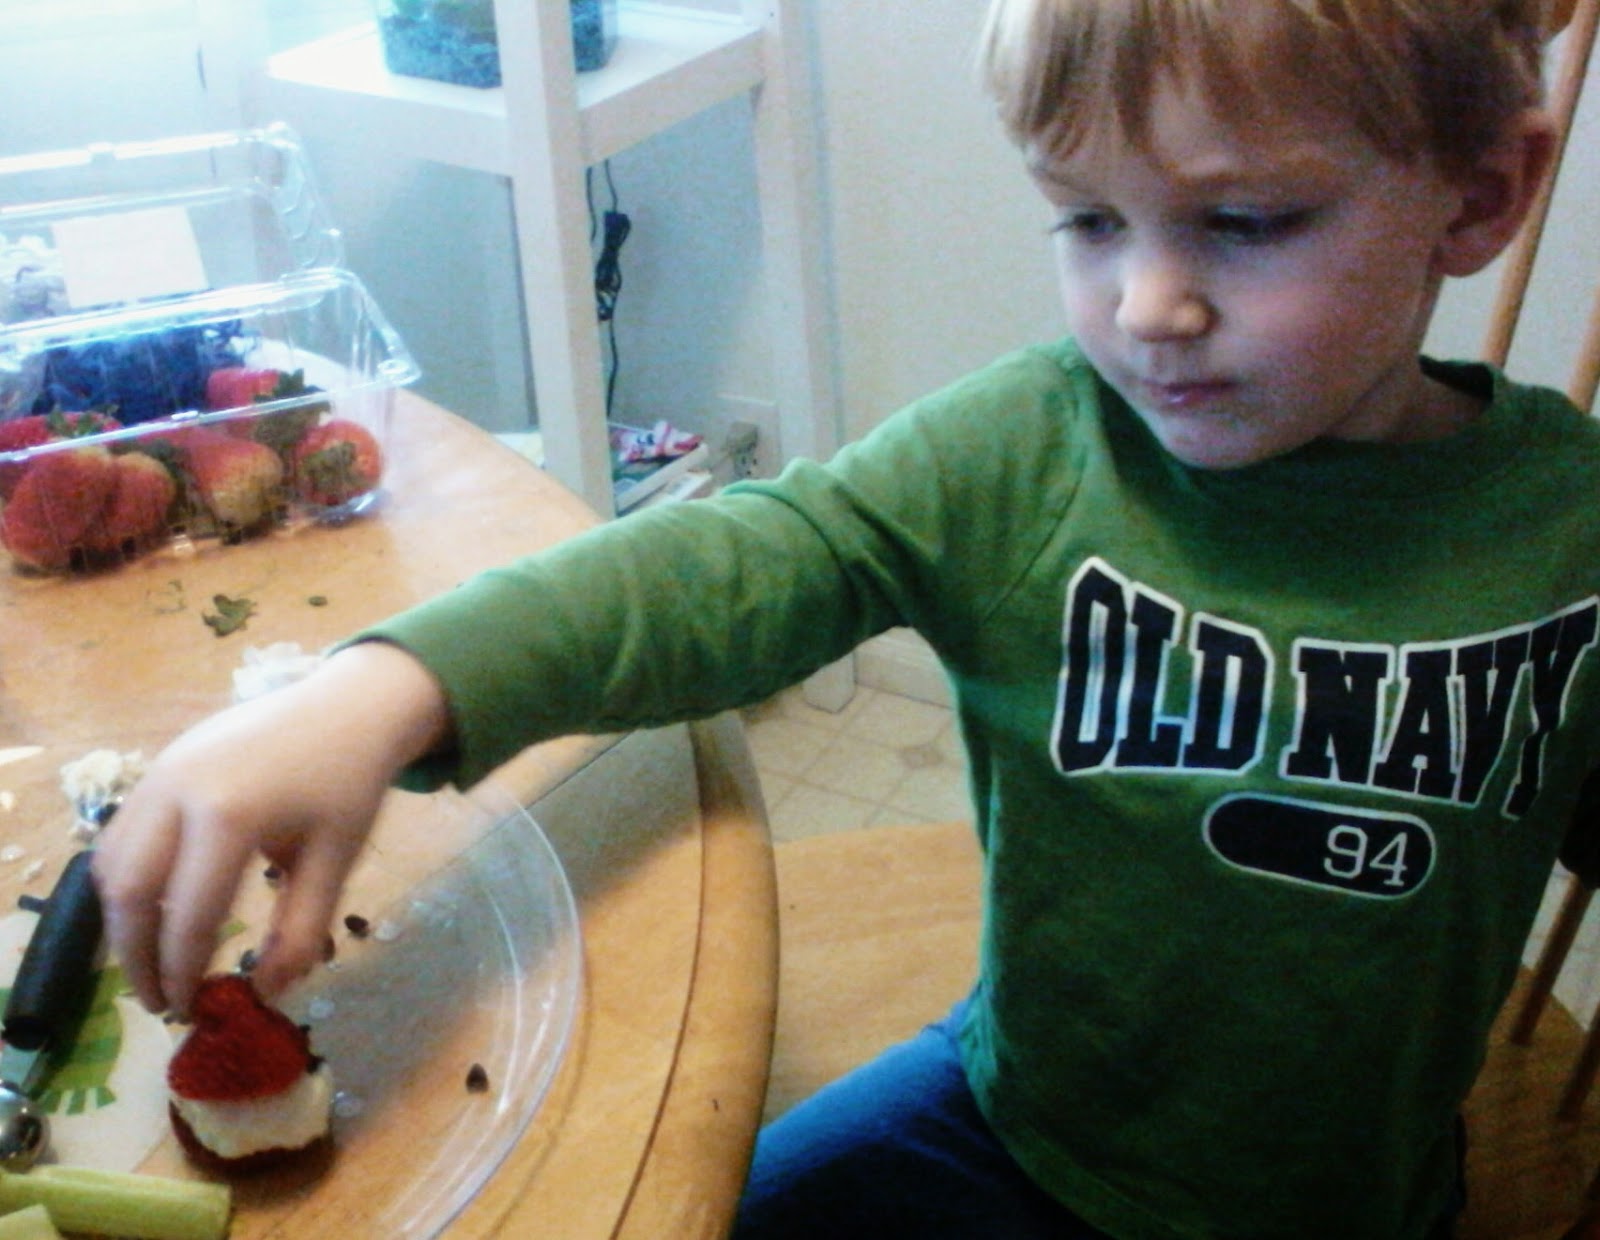
Santa-Strawberries, vanilla icing and mini chocolate chips for his eyes- (Carter will not try to eat the icing or choco chips...surprising, I know!)
Snowman-Big marshmallows, and a top of a strawberry for his hat, mini choco chip eyes, and tiny sprinkles for his mouth, and a tiny piece of carrot cut in a triangular shape for his nose. We used a wooden skewer to keep it all together.
Holly- Using a wooden skewer, we pressed on 3 cherry tomatoes and a couple pieces of celery tops on each side for the leaves.
Tree-A piece of celery.
Mushrooms- A small piece of marshmallow and the bottom half of a strawberry, held together with a wooden skewer.
Carter helped put all of this together and happily scooped large chunks of icing onto the serving platter for us to set up our wintery scene. Carter stuck everything into the icing as he wanted and thought the outcome was pretty hilarious.
Rummaging through the refrigerator, I found the following as stand in's, ha ha!
Santa-Strawberries, vanilla icing and mini chocolate chips for his eyes- (Carter will not try to eat the icing or choco chips...surprising, I know!)
Snowman-Big marshmallows, and a top of a strawberry for his hat, mini choco chip eyes, and tiny sprinkles for his mouth, and a tiny piece of carrot cut in a triangular shape for his nose. We used a wooden skewer to keep it all together.
Holly- Using a wooden skewer, we pressed on 3 cherry tomatoes and a couple pieces of celery tops on each side for the leaves.
Tree-A piece of celery.
Mushrooms- A small piece of marshmallow and the bottom half of a strawberry, held together with a wooden skewer.
Carter helped put all of this together and happily scooped large chunks of icing onto the serving platter for us to set up our wintery scene. Carter stuck everything into the icing as he wanted and thought the outcome was pretty hilarious.
Craft #117-Day 141-Snowmen Candy Bars
Super easy holiday party favors!
We had a candy bar already that was wrapped in white paper. Carter thought it was great that he got to press his fingertips in the black stamp ink. I helped him with the placement of the dots for the face. We also had pretty blue ink to use, so using our fingerprints we made a polka-dotted snowman. I drew on an orange triangle shaped nose as Carter was searching through the pile of yarn.
He picked out dark blue yarn for the snowman's scarf. Carter helped wrap the scarf around the candy bar and I tied it in a knot.
And done! Great little gifts!
We had a candy bar already that was wrapped in white paper. Carter thought it was great that he got to press his fingertips in the black stamp ink. I helped him with the placement of the dots for the face. We also had pretty blue ink to use, so using our fingerprints we made a polka-dotted snowman. I drew on an orange triangle shaped nose as Carter was searching through the pile of yarn.
He picked out dark blue yarn for the snowman's scarf. Carter helped wrap the scarf around the candy bar and I tied it in a knot.
And done! Great little gifts!
Sunday, January 18, 2015
Craft #116-Day 140-Ghoulish Goodies
This is such a cute way to dress up the candy given away during Halloween! Carter was all about making these bats, ghosts and skeletons....so there was no changing this theme!
Instead of just using card stock we put those toilet paper rolls to good use. Carter helped roll the paper around the tubes for each ghoul and helped tape everything together. For the ghost, we folded/taped the paper at one end to create a bottom, so Carter could fill the roll with candies. The other two could easily have candy taped to the inside of the roll.I drew on the faces using a marker and a crayon.
Carter loved the little ghoulies we made and they quickly became toys!
Instead of just using card stock we put those toilet paper rolls to good use. Carter helped roll the paper around the tubes for each ghoul and helped tape everything together. For the ghost, we folded/taped the paper at one end to create a bottom, so Carter could fill the roll with candies. The other two could easily have candy taped to the inside of the roll.I drew on the faces using a marker and a crayon.
Carter loved the little ghoulies we made and they quickly became toys!
Saturday, January 17, 2015
Craft #115-Day 139-Pumpkin Take-Away Treats
We finally found some time today to start our next craft. We had most of the supplies needed, except for the little muslin bags. We had a larger bag made of similar material that we used instead. Also, again since we are past Halloween, we decided to make a dinosaur stamp!
After a few carving attempts to make a stamp out of an apple freehand, I decided to use a dinosaur cookie cutter instead. I cut a side of the apple and evened it out. I pressed the cookie cutter in the apple and trimmed the edges.
Carter dipped the apple stamp in green paint and placed it onto the bag, pressed down, and removed the stamp to reveal the cute little dinosaur print! I added an eye with a black permanent marker.
Now Carter has his own little snack bag we can fill up, when we leave the house, adventuring.
After a few carving attempts to make a stamp out of an apple freehand, I decided to use a dinosaur cookie cutter instead. I cut a side of the apple and evened it out. I pressed the cookie cutter in the apple and trimmed the edges.
Carter dipped the apple stamp in green paint and placed it onto the bag, pressed down, and removed the stamp to reveal the cute little dinosaur print! I added an eye with a black permanent marker.
Now Carter has his own little snack bag we can fill up, when we leave the house, adventuring.
Tuesday, January 13, 2015
Craft #114-Day 135-Halloween Favor Tree
Being that we are past Halloween...and it is now January, we decided to change the theme to winter. So a Winter Favor Tree!
Carter wanted to make snowballs first for our tree. We had stopped by Mecca earlier in the day to pick up my glue gun that I had left there, oops! As well as, paper fasteners and a variety of paper to make the snowballs with. We headed home to wander our yard in search of the perfect tree branch.
We found a great branch and headed back inside to start our project. Carter filled the vase with glass stones and wedged the tree branch in. Onto making the snowballs! Since the paper fastener method was just not working out for us we decided to go with the gluing and taping method.Fail safe!
We criss-crossed strips of paper and kept it all together with glue and tape in order to create our snowballs. Which mimicked the type of globes made in the book for the pumpkins and cats. Carter decided to add the white pieces of paper we were originally going to use on top of the snowballs. I love when his originality comes shining through!
Next, we cut up parts of an adorable snowflake gift box, taped the sides back together, to create our little treat bags. Of course, we had to add snowmen! Using cupcake liners for the snowmen faces, Carter glued on the construction paper eyes and mouth. Finishing touch was the orange nose made from foam.
Carter helped punch holes into the treat bags and snowmen decorations, so we could add the ribbon and hang them on our tree. I slipped ribbon through the braid of the snowballs instead of using a hole punch.Before that could happen though, Carter decorated our tree with silver tinsel!
Carter happily added the favors to our winter tree. I love all of these party ideas.
Carter wanted to make snowballs first for our tree. We had stopped by Mecca earlier in the day to pick up my glue gun that I had left there, oops! As well as, paper fasteners and a variety of paper to make the snowballs with. We headed home to wander our yard in search of the perfect tree branch.
We found a great branch and headed back inside to start our project. Carter filled the vase with glass stones and wedged the tree branch in. Onto making the snowballs! Since the paper fastener method was just not working out for us we decided to go with the gluing and taping method.Fail safe!
We criss-crossed strips of paper and kept it all together with glue and tape in order to create our snowballs. Which mimicked the type of globes made in the book for the pumpkins and cats. Carter decided to add the white pieces of paper we were originally going to use on top of the snowballs. I love when his originality comes shining through!
Next, we cut up parts of an adorable snowflake gift box, taped the sides back together, to create our little treat bags. Of course, we had to add snowmen! Using cupcake liners for the snowmen faces, Carter glued on the construction paper eyes and mouth. Finishing touch was the orange nose made from foam.
Carter helped punch holes into the treat bags and snowmen decorations, so we could add the ribbon and hang them on our tree. I slipped ribbon through the braid of the snowballs instead of using a hole punch.Before that could happen though, Carter decorated our tree with silver tinsel!
Carter happily added the favors to our winter tree. I love all of these party ideas.
Monday, January 12, 2015
Craft #113-Day 134-July 4th Rocket Favors
A cute party favor idea. We decided to go with a snowman/star/winter theme for ours!
We used a toilet paper roll for our rocket. Carter used wrapping paper to wrap it in. We made the cone from a piece of construction paper and taped it in place ontop of the toilet paper roll. He filled the rocket with mint candies.
Carter scrunched up a coffee filter and taped it in the bottom of the roll. He wanted to add tinsel to it as well. Stars and snowmen stickers were the finishing touches to our rocket.
We will definitely make these again for the 4th of July!
We used a toilet paper roll for our rocket. Carter used wrapping paper to wrap it in. We made the cone from a piece of construction paper and taped it in place ontop of the toilet paper roll. He filled the rocket with mint candies.
Carter scrunched up a coffee filter and taped it in the bottom of the roll. He wanted to add tinsel to it as well. Stars and snowmen stickers were the finishing touches to our rocket.
We will definitely make these again for the 4th of July!
Subscribe to:
Posts (Atom)